Choosing the best camera for African safari isn’t just about specs—it’s about capturing once-in-a-lifetime moments in one of the wildest, most beautiful places on Earth.

Whether you’re planning a safari trip through East Africa, heading to the plains of South Africa, or checking the Maasai Mara off your bucket list, bringing the right camera gear is one of the most important decisions you’ll make.
Let me explain why.
On safari, the wildlife doesn’t pose, the lighting isn’t perfect, and you don’t get do-overs.
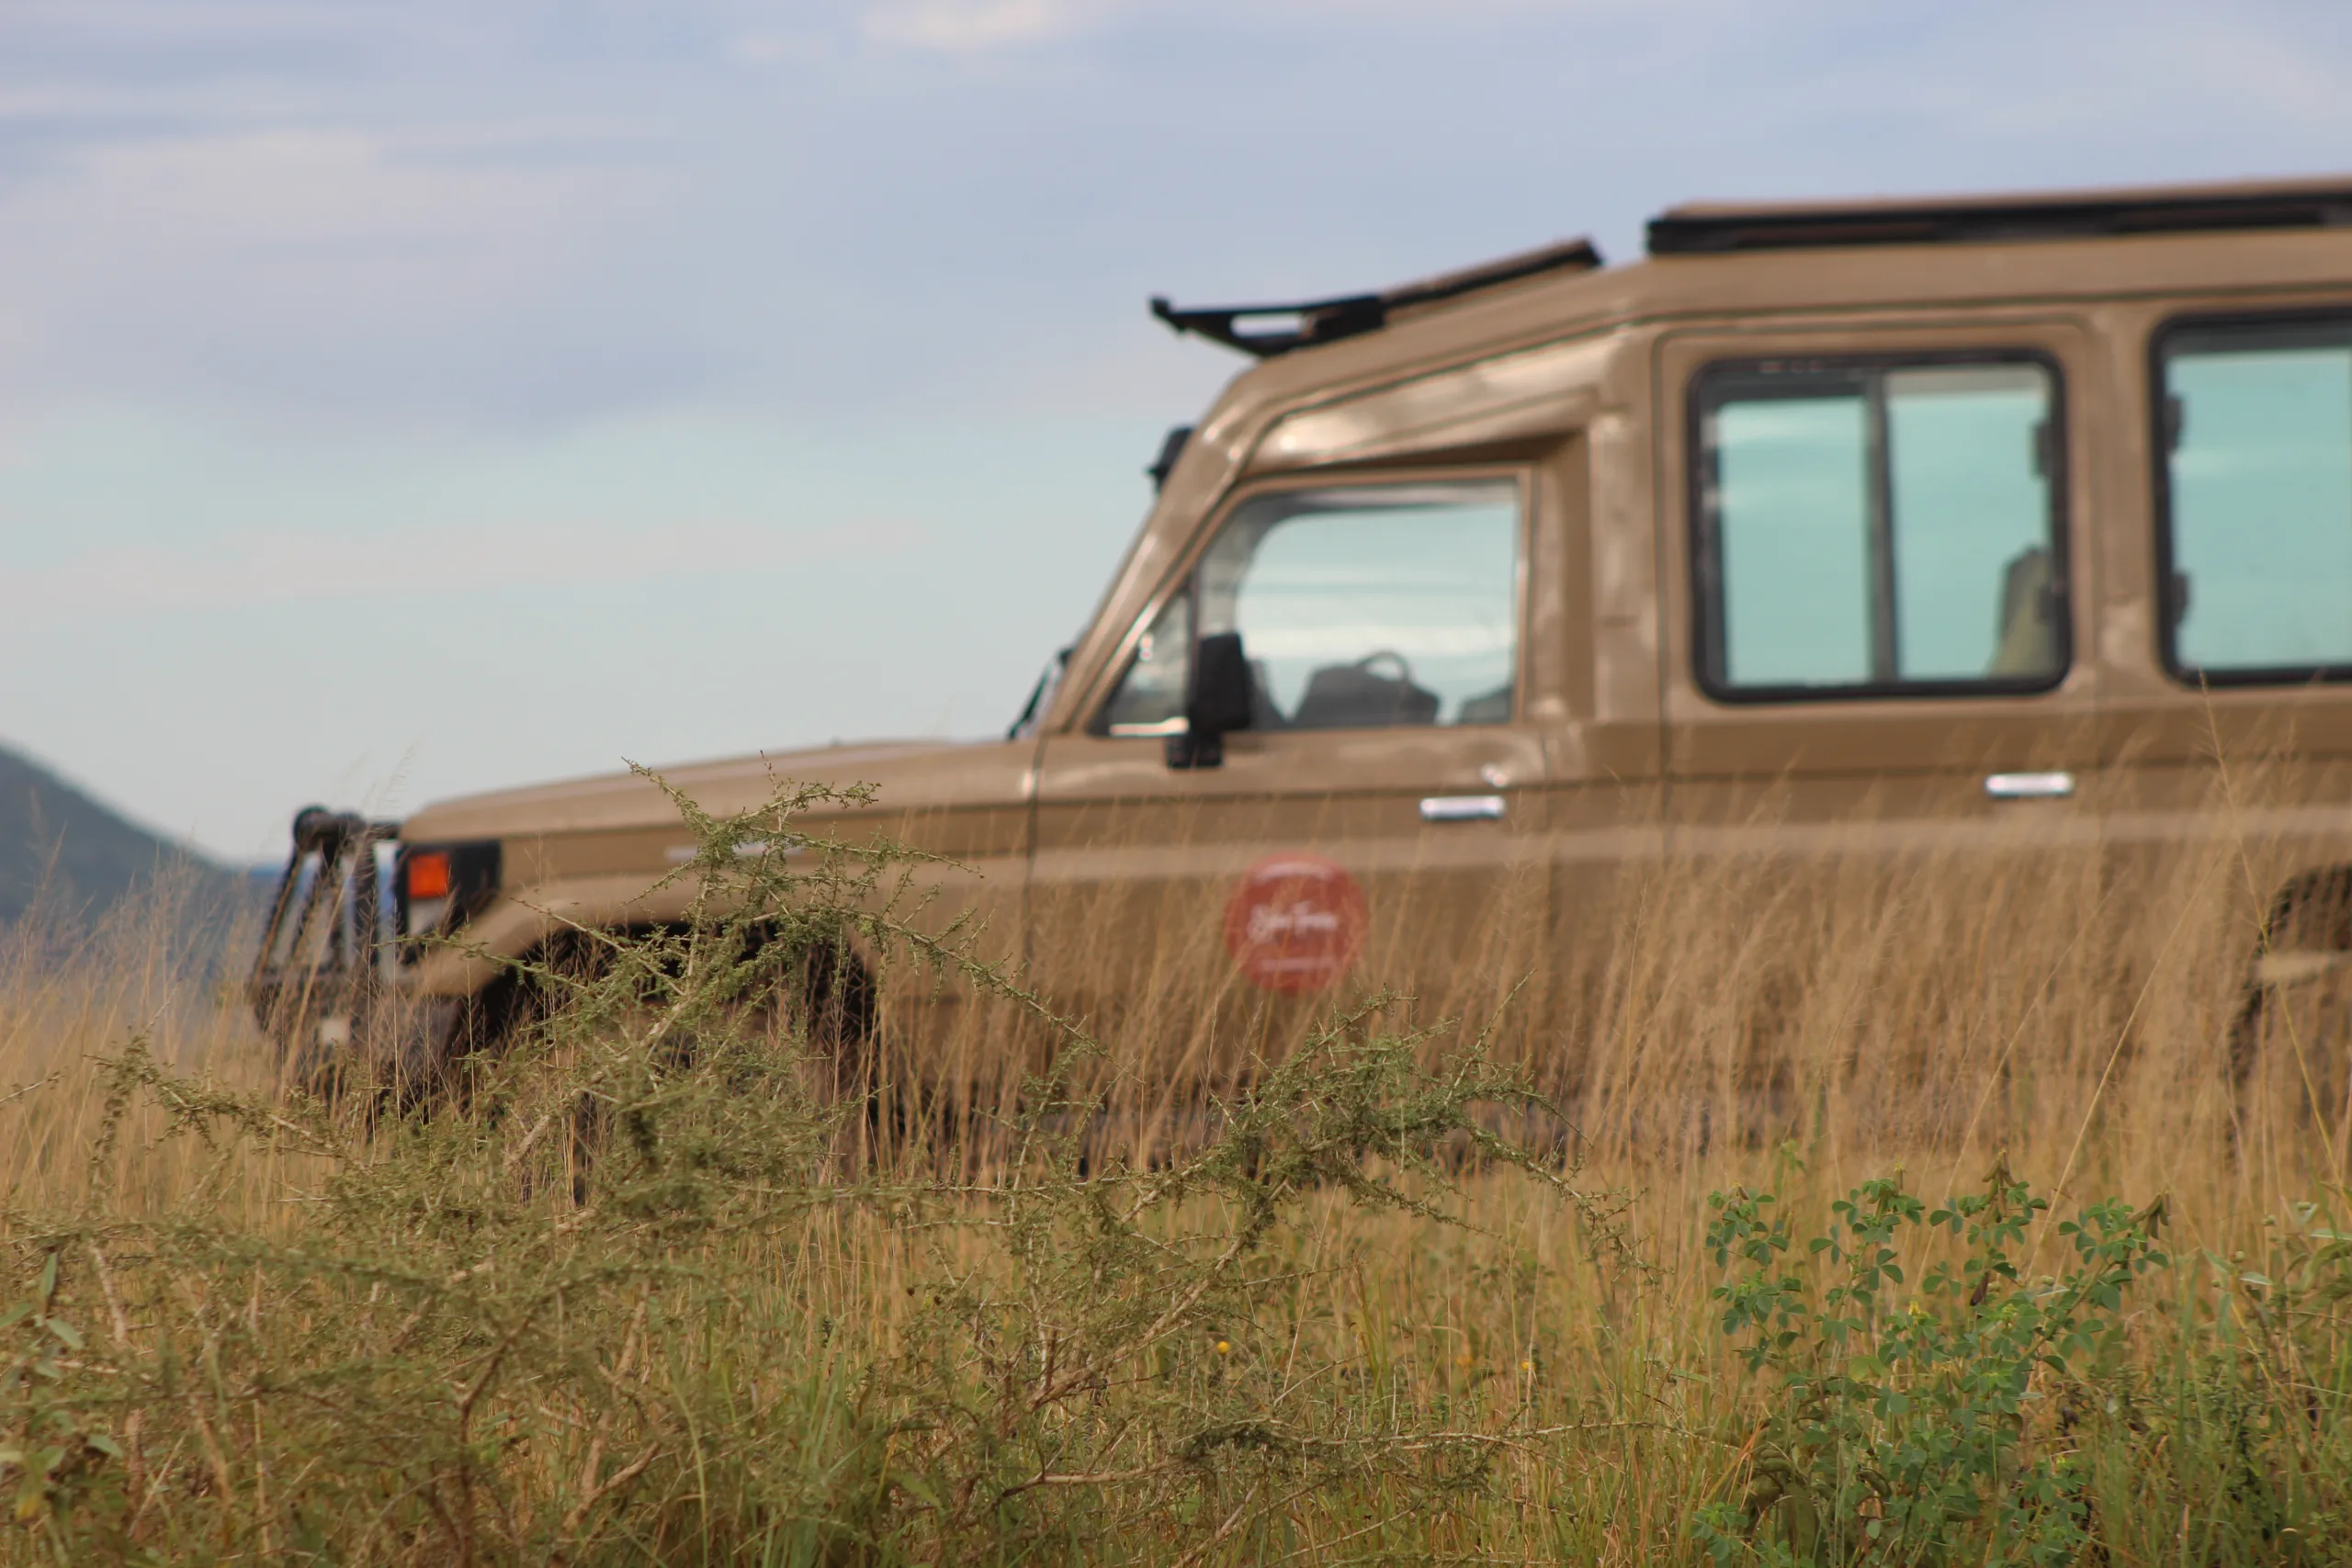
You’ll be shooting from a moving safari vehicle, often in low-light conditions like early morning or late afternoon, and trying to capture fast-moving animals like cheetahs, birds in flight, or elephants on the move.
It’s a dream for wildlife photography, but it’s also a real test of your gear. A blurry lion photo from a phone just doesn’t cut it.
But here’s the good news: you don’t have to be a professional photographer to get amazing photos.
With the right setup—whether it’s a DSLR, mirrorless camera, or even a superzoom camera—you can take sharp, clear, breathtaking shots that are perfect for printing, sharing on social media, or keeping as a personal record of your safari adventure.
In this guide, I’m going to walk you through:
- The best safari camera bodies (including great options for beginners and serious shooters)
- The best lenses for safari, based on reach, sharpness, and ease of use
- The features and accessories that actually make a difference (spoiler: it’s not megapixels)
- The gear I personally brought—what worked, what didn’t, and what I’d do differently
If this is your first time planning a safari trip, this guide will help you avoid the common gear mistakes I saw (and made) in the field. We’ll break down all the confusing stuff—like sensor size, focal length, and image stabilization—into plain, easy-to-understand tips so you can choose the best option for your goals, budget, and travel style.
Let’s get started—and make sure you’re fully equipped to capture the best moments of your African safari.
What I Brought: My Real-World Gear Setup
Before we dive into the top picks for the best camera for African safari, let me share what I personally brought on my safari trip to Tanzania.
I’m not a professional photographer, but I care deeply about wildlife photography and wanted to get the best shots possible—without packing a studio’s worth of gear.
I used a setup that struck a balance between portability, reach, and quality. And while it wasn’t perfect, it taught me a lot about what works—and what doesn’t—when you’re on a game drive in the middle of the Serengeti.
My Camera Body: Canon M50 Mark II

I brought the Canon M50 Mark II, a lightweight mirrorless camera with a smaller sensor (APS-C). I chose it for its compact size, ease of use, and strong autofocus system—and because it’s one of the best beginner-friendly cameras on the market.
Pros:
- Light and easy to travel with
- Flip-out screen (great for vlogging or self-recording)
- Sharp image quality in good light
- Good for social media and travel content
Cons:
- Struggled in low-light conditions like early morning and late afternoon
- Slower continuous shooting speed made it hard to capture fast-moving animals
- Not weather-sealed
- Short battery life (I needed 3 batteries per day)
Bottom line: It’s a great entry-level camera, but if I were going again, I’d pair it with a more powerful camera body as a backup or second camera.
The Lenses I Used (And How They Performed)
1. Sigma 150–600mm f/5-6.3 (My MVP)
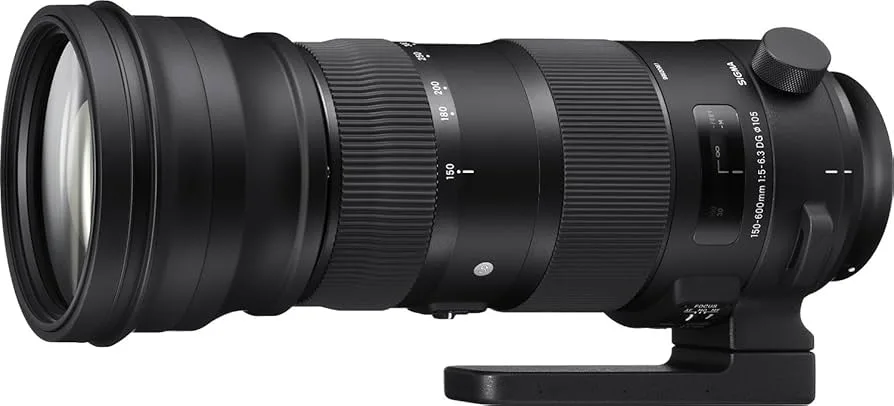
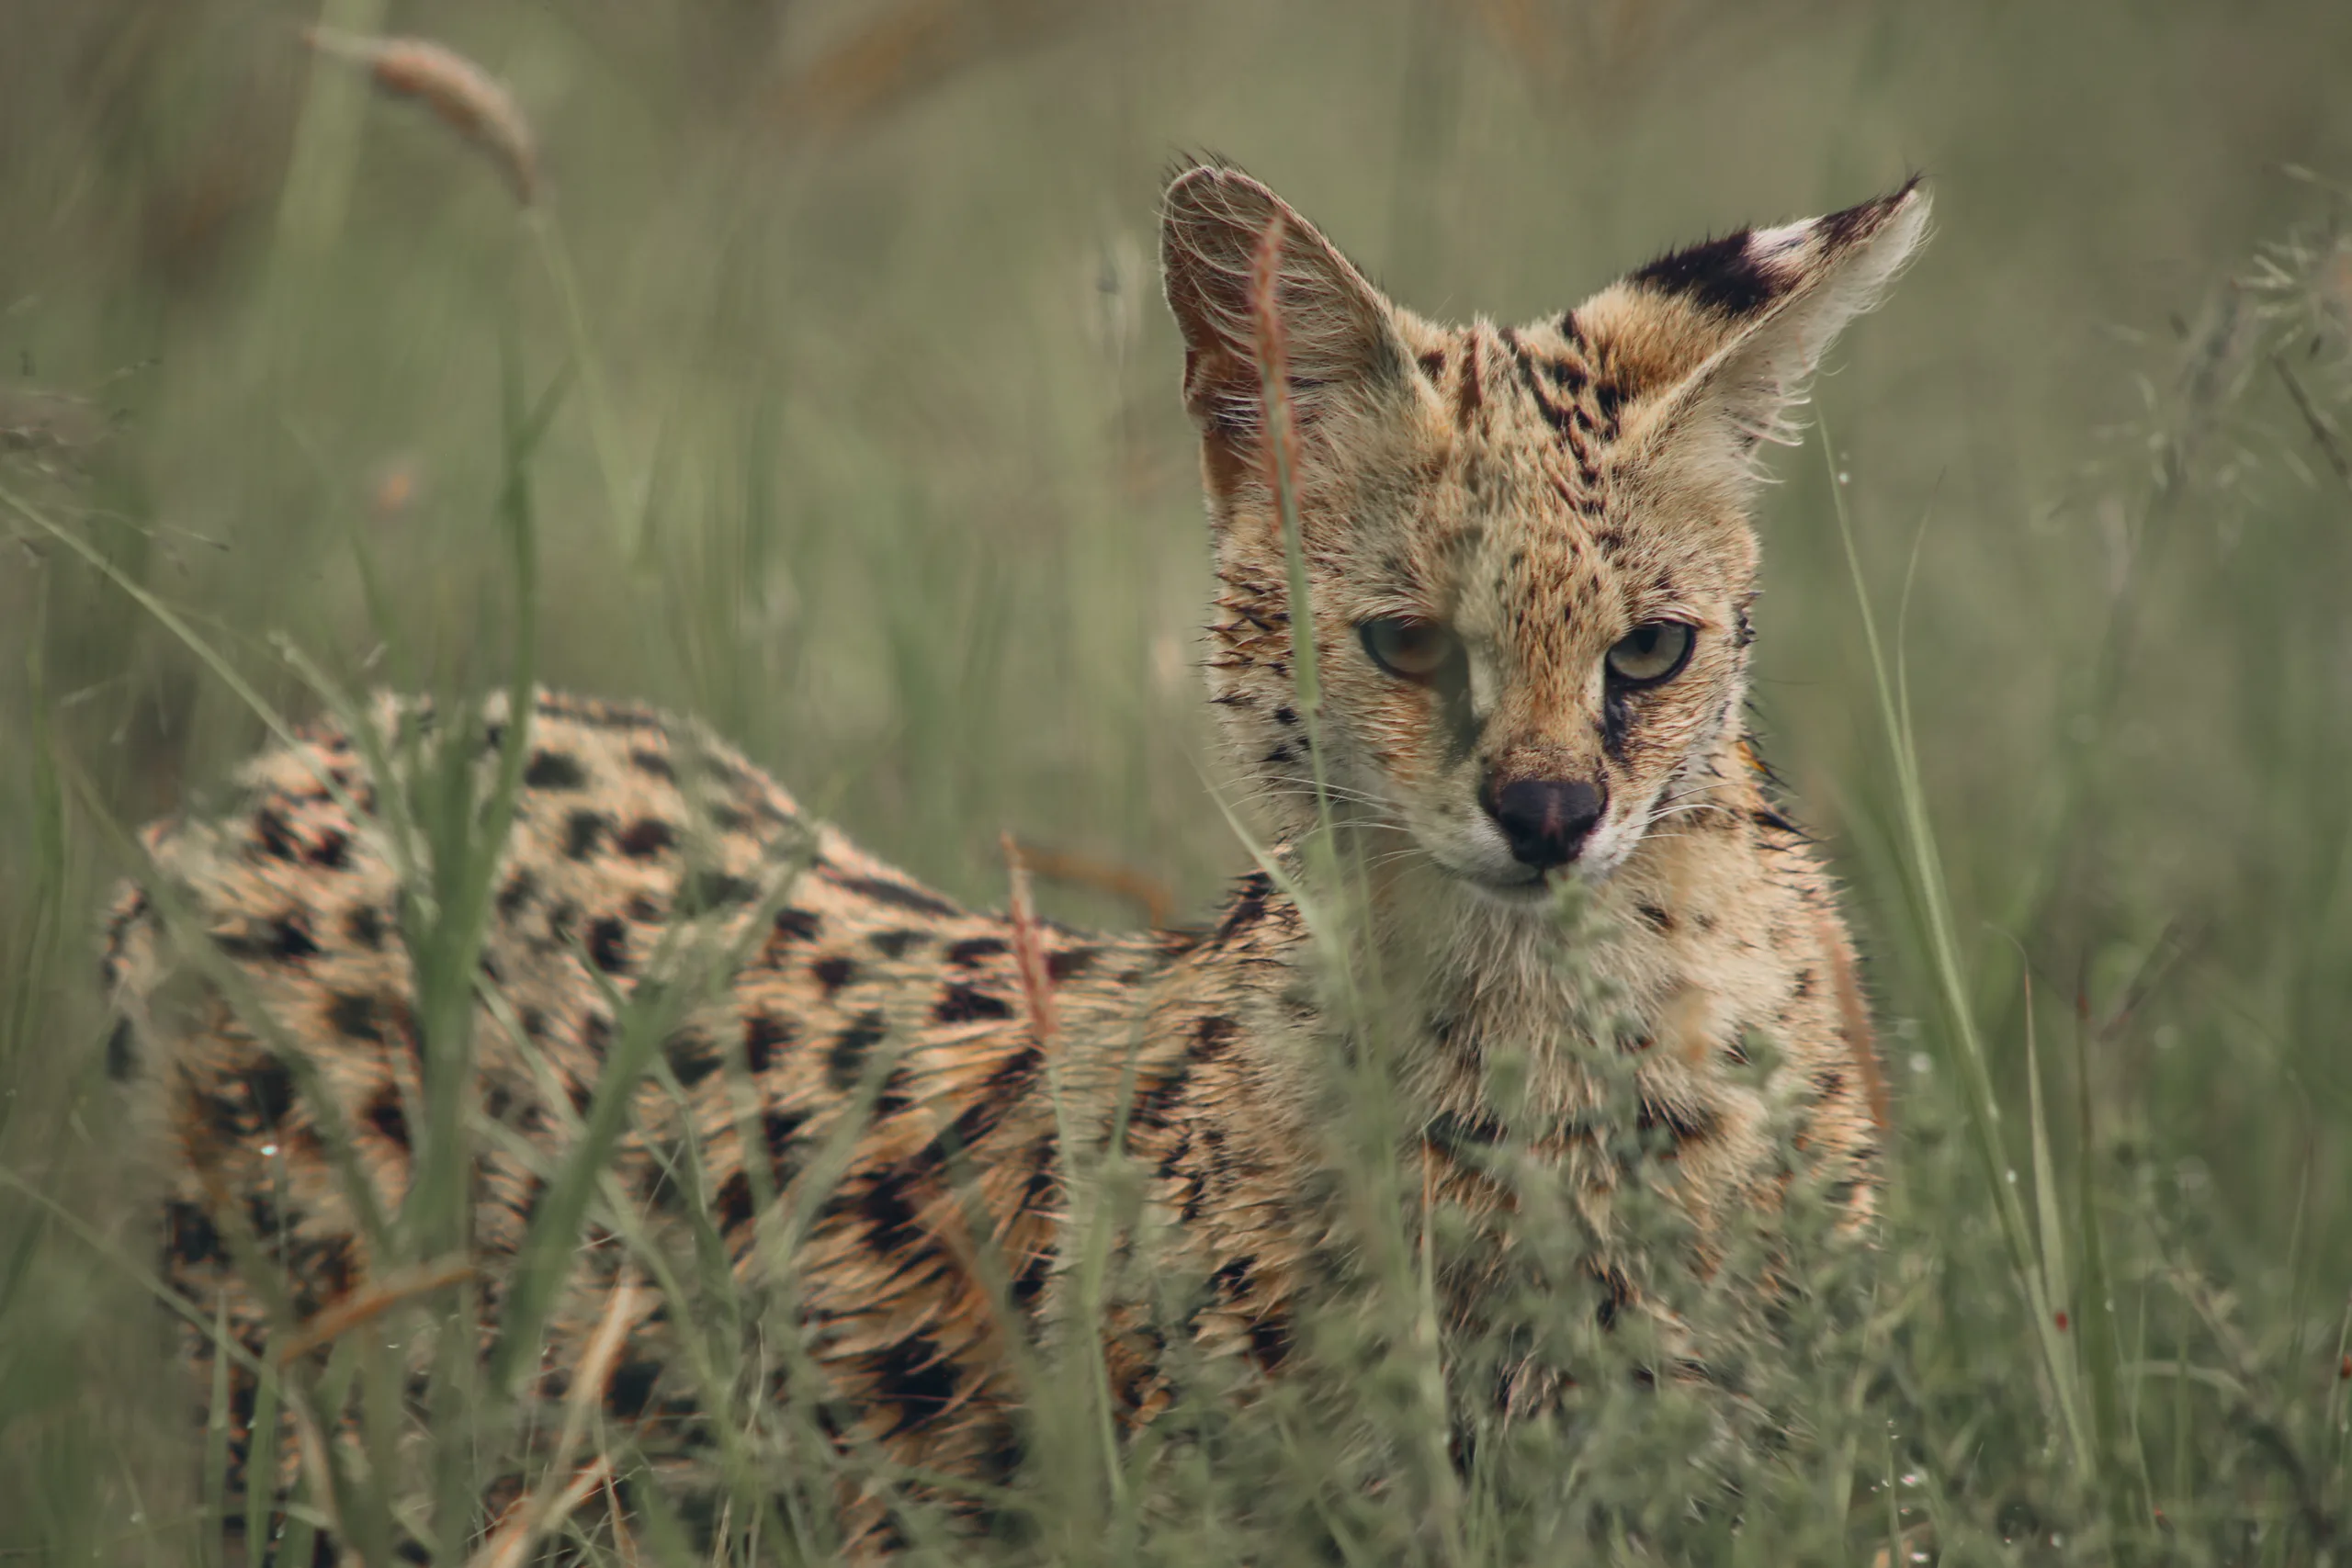
This was the lens I used 90% of the time. On safari, animals often appear at a distance, and this telephoto lens gave me the reach I needed to capture everything from lions in tall grass to small birds in trees.
- Incredible zoom lens reach
- Sharp enough for prints
- Essential for tight shots of far-away animals
- But: heavy, bulky, and difficult to hand-hold for long periods
I rested it on a bean bag across the vehicle’s edge for stability—which made a huge difference in sharpness.
2. Sigma 24–70mm f/4
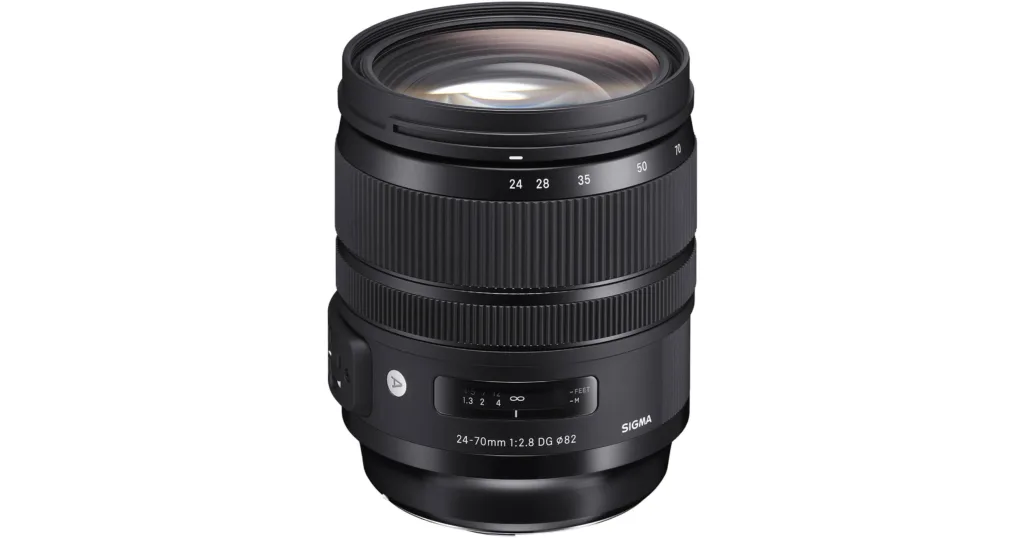
This was my least-used lens. While it’s great for landscapes and wide-angle shots of elephants up close or scenery near the lodge, I rarely needed it because we couldn’t get that close to the animals.
- Good in theory, but not practical for most wildlife photography
- Excellent for static, scenic, or camp shots
- Too short for most safari photography subjects
3. Canon 50mm f/1.8

I brought this for low light and portraits, and while it performed beautifully for detail shots at the lodge or storytelling images, it was not a suitable camera lens for actual game drives.
- Loved the low f-stop for bokeh
- Great for creative or camp content
- Not ideal for capturing action or animals
The Lens I Wished I Had
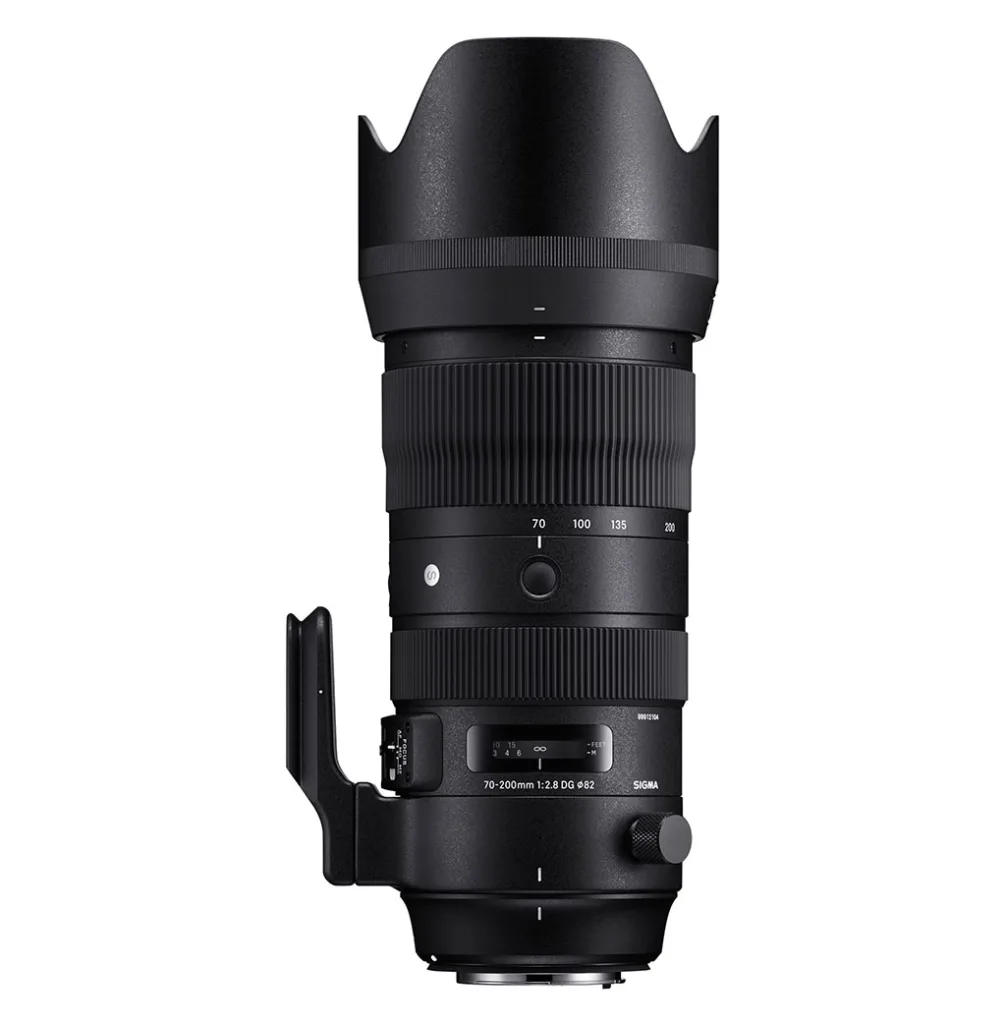
Our guide carried a 70–200mm f/2.8 lens, and honestly, it filled in all the gaps I had. He was able to shoot wide animal scenes—like elephants walking in groups, or zebras at a waterhole—that I couldn’t get with my super zoom.


His images showed more of the natural habitat and felt more immersive, while mine were tight and cropped in. That lens’s fast aperture also helped in low-light conditions, something I struggled with using my f/5-6.3 zoom.
My Ideal Setup (If I Could Do It Again)
If I were planning another safari trip, I’d bring:
- Two camera bodies
- One with a 70–200mm lens for versatility
- One with a 150–600mm for reach
- A compact camera or bridge camera like the Canon Powershot SX as a backup
- A bean bag, multiple memory cards, and plenty of batteries
This would let me switch focal lengths instantly without missing shots or wasting time swapping lenses during a game drive.
Pro Tip: Don’t overpack. Choose your gear based on your comfort level and how much time you’re willing to spend shooting vs. enjoying the moment. And if you’re not confident using manual settings, practice at home before your trip.
Top 5 Best Camera Bodies for African Safari
There’s no such thing as a one-size-fits-all answer when it comes to the best camera for African safari—but there are clear winners depending on your needs, skill level, and budget.
In this section, I’ll walk you through the top 5 camera bodies I recommend for safari photography. Each one offers a different mix of power, portability, and performance, so you can choose the right camera for you.
Whether you’re a beginner bringing your first camera, a travel vlogger shooting content for social media, or an aspiring wildlife photographer, one of these models will deliver great shots with the features that matter most in the wild.
Let’s break it down.
1. Canon EOS R6 / R5 – For Enthusiasts & Pros

The Canon EOS R6 (and its higher-end sibling, the R5) is a top-tier mirrorless camera that’s become a favorite among both pro and serious hobbyist wildlife photographers.
Why it’s great for safari:
- Full-frame larger sensor for better image quality and low noise
- Excellent autofocus system (especially for animals and birds)
- High frames per second (R6 shoots up to 20 fps) for fast-moving animals
- Dual card slots for backup on long game drives
- Built-in image stabilization to help steady handheld shots
Downsides:
- Larger and more expensive than entry-level cameras
- Still needs high-quality lenses to reach full potential
Best for: Travelers who want pro-level quality, plan to do serious safari photography, and already have Canon lenses or want to invest in a future-proof system.
2. Sony A7 IV / A9 II – Best for High-Speed & Low Light

Sony’s Alpha series is known for its powerhouse performance, and the Sony A7 IV is arguably one of the best mirrorless cameras for wildlife. The A9 II, though pricier, is tailored specifically for high-speed wildlife photography.
Why it’s ideal:
- Insanely fast autofocus tracking for moving subjects
- Superior low-light performance
- Great battery life (a major win on all-day safaris)
- Lightweight for a full-frame system
- Silent shutter for photographing shy or skittish animals
Downsides:
- Pricey—especially with Sony’s long zoom lenses
- Menus can be complex for beginners
Best for: Those who want fast, high-resolution shooting and are willing to invest in top-end gear.
3. Nikon Z6 II / Z9 – Best Build Quality & Ergonomics

Nikon’s Z series strikes a great balance between image quality, usability, and durability—especially important on dusty or bumpy game drives.
What makes it safari-ready:
- Solid weather sealing for dusty south Africa terrain
- Excellent low-light conditions performance
- Smooth handling and ergonomics
- High-res EVF and responsive touchscreen
- Excellent battery life
Downsides:
- Z-mount lenses can be more expensive and heavier
- May require adapters if you’re using older Nikon DSLR lenses
Best for: Nikon fans or those who want a rugged camera body that can keep up with a bumpy, dusty safari adventure.
4. Canon EOS 90D / Nikon D7500 – Best DSLR for Budget Wildlife Shooters

If you prefer DSLR cameras over mirrorless, these two models are some of the best-value options for travelers who want performance without breaking the bank.
Why they’re a good point of entry:
- APS-C sensor gives a “crop factor” boost to your zoom (great for reach)
- Excellent battery life (no need to recharge mid-day)
- Wide selection of compatible telephoto lenses
- Simple, durable, and easy to use with gloves or in bright light
Downsides:
- Heavier than mirrorless options
- Slower autofocus compared to mirrorless rivals
- No in-body image stabilization
Best for: Travelers who already own Canon or Nikon DSLR gear, or want great results on a mid-range budget.
5. Sony RX10 IV / Canon Powershot SX70 / Nikon Coolpix P1000 – Best All-in-One Travel Cameras

Want to avoid changing lenses? Don’t want to carry multiple bags of gear? These superzoom cameras are surprisingly capable and often overlooked.
Why they’re ideal for minimalists:
- Built-in superzoom lenses up to 600mm+
- Compact size, perfect for carry-on or light packers
- Designed for ease of use with one hand
- Ideal for first-time safari travelers or those who don’t want to miss the shot swapping lenses
Downsides:
- Smaller sensors = less dynamic range in low light
- Not as sharp as dedicated camera bodies + lenses
- Limited depth of field and background blur
Best for: Travelers who prioritize convenience, affordability, and simplicity, and still want good results.
My advice: Don’t just buy a new camera the week before your trip. Whatever you choose, practice with it. Learn the controls, menus, and how to shoot in manual or aperture priority mode.
The best safari camera is the one you’re confident using when that once-in-a-lifetime moment happens in front of you.
Top 5 Best Lenses for Safari Photography
Once you’ve picked your camera body, the next—and arguably most important—decision is your lens.
On safari, your lens is what brings the action close, makes far-off animals sharp, and gives your photos that cinematic, professional feel.
The truth is, the lens matters more than the camera. You could have a high-end full frame camera, but if your lens doesn’t have enough reach or isn’t sharp, you’ll miss the shot. So if you’re investing anywhere in your safari photography kit, this is where you want to do it.
Here are my top 5 recommendations for the best safari lenses, whether you’re shooting with a mirrorless camera, DSLR, or even a bridge camera with built-in glass.
1. Sigma or Tamron 150–600mm f/5-6.3 – Best for Reach & Versatility
This is the lens I personally brought, and it was hands-down the most important component of my safari setup.
Why it’s the best option:
- Huge focal length range: great for distant lions, birds, elephants
- Affordable compared to native telephoto glass
- Excellent image quality with image stabilization
- Works with Canon, Nikon, and Sony bodies
What to keep in mind:
- It’s heavy—bring a bean bag to rest it on the vehicle edge
- Not ideal for low-light conditions (f/6.3 is a bit slow for early morning shots)
- Best paired with a larger sensor or APS-C for extra reach
Best for: Travelers who want powerful zoom, great results, and can manage the weight.
2. 70–200mm f/2.8 or f/4 – Most Versatile Safari Lens
This lens is the one our safari guide used, and I saw immediately what I was missing. It’s sharp, fast, and has a low f-stop that lets in a ton of light during early morning and late afternoon drives.
Why it’s a must-have:
- Great for wildlife photography at mid-range distances
- Allows you to shoot both animal portraits and wider scenes
- Lighter and easier to handle than 150–600mm
- Beautiful background blur (bokeh) for dramatic portraits
Drawbacks:
- Not enough reach for very distant subjects
- Expensive, especially the f/2.8 version
Pro tip: Pair this with a second body using a longer lens. That way, you’re covered for both wide and long shots.
3. 100–400mm f/4.5-5.6 – Best Balance of Reach and Portability
If you want something more manageable than the 150–600mm but still long enough for wildlife, the 100–400mm is a fantastic compromise.
Why it’s a good lens:
- Excellent sharpness across zoom range
- Lighter than super-telephoto options
- Still long enough for most animals on game drives
- Good image stabilization helps in handheld situations
Drawbacks:
- A bit pricey depending on the brand (Canon, Sony, Nikon)
- Still not a “walk-around” lens for non-safari use
Best for: Travelers who want quality and portability, and aren’t shooting tiny birds all day.
4. 24–70mm f/2.8 or f/4 – Best for Storytelling and Scenery
While most people focus on telephoto lenses, don’t underestimate the power of a wide-angle lens like a 24–70mm. It’s perfect for landscapes, group shots, lodge life, or wildlife when you’re surprisingly close.
Why it’s a strong second lens:
- Covers everything from camp photos to close-up elephants
- Fast aperture is great for low light and detail shots
- Lighter than big zooms
But:
- Not much use for animals in the distance
- Can feel limiting if it’s your only lens
Best for: Travelers with a second camera, or those who want to capture more than just the wildlife.
5. Wide-Angle Lenses (16–35mm or 10–20mm) – For Context and Atmosphere
You won’t use a wide-angle lens for animals, but it’s a great tool for storytelling. It allows you to capture the vastness of the savannah, dramatic skies, or your tent at sunrise. A wide angle lens adds depth and scale to your safari gallery.
Why it’s useful:
- Perfect for landscapes, sunrise, or sunset shots
- Great for interiors at lodges or local village visits
- Captures scenes you’d miss with longer lenses
Drawbacks:
- Not useful for most wildlife photography
- You’ll need to get creative to make it worthwhile
Best for: Travel photographers or storytellers who want more variety in their camera equipment.
Bonus: Superzoom & Bridge Lenses
If you’re using a bridge camera like the Sony RX10 IV, Canon Powershot SX70, or Nikon Coolpix P1000, you already have a built-in lens that covers everything from wide-angle to super zoom.
These are perfect for travelers who:
- Don’t want to change lenses
- Are packing light
- Want a backup to their main system
Drawback: You’ll sacrifice terms of image quality, especially in low light, but you’ll never miss a shot due to lens swaps.
Final Word on Safari Lenses
If you want best results:
👉 Bring two lenses: a 70–200mm and a 150–600mm.
👉 Mount each on a separate camera body to avoid swapping in the field.
👉 Pack a wide angle lens or compact camera as a secondary creative tool.
And don’t forget:
- Use a bean bag for stability
- Keep lenses clean—dust is everywhere
- Practice changing settings fast—you won’t have much time when that leopard appears!
Camera Features & Accessories That Actually Matter
When you’re choosing the best camera for African safari, it’s easy to get caught up in buzzwords—megapixels, touchscreen menus, 8K video. But once you’re bouncing around in a safari vehicle, aiming at a lion in tall grass, none of that will matter if your battery dies or you can’t lock focus in time.
After spending 10 days on safari in Tanzania, I can confidently say these are the most important components of your camera equipment—and the must-have accessories that’ll actually improve your safari photography.
Camera Features That Make a Real Difference
1. Fast Autofocus (AF)
You need a camera with accurate, reliable AF—especially for fast-moving animals like birds, cheetahs, or zebras. Look for animal eye detection or tracking features found in newer mirrorless cameras and DSLRs like the Canon EOS R6, Sony A7 IV, or Nikon Z6 II.
Good point: Fast autofocus is the difference between getting a crisp shot and a blurry disappointment.
2. Image Stabilization (IBIS or Lens-Based)
Safari shots are often taken handheld or resting on a bean bag. If your camera or lens has image stabilization, you’ll get sharper shots—especially with long lenses like a 150–600mm.
Better results = fewer missed moments.
3. Battery Life
On all-day game drives, recharging isn’t an option. DSLR cameras typically have better battery life than mirrorless—but bringing 2–3 extra batteries is essential either way.
Pro tip: Turn off the LCD preview and limit video use to save power.
4. Weather-Sealing
Dust, wind, and the occasional splash of rain are all part of the safari adventure. A weather-sealed camera body protects your investment—especially important in south Africa or east Africa’s dry season.
5. Dual Card Slots
Cameras with dual memory card slots (like the Sony A9 II or Canon EOS R5) let you automatically back up your images—a smart move when capturing once-in-a-lifetime shots.
Accessories That Will Make or Break Your Experience
1. Memory Cards (Bring Extras!)
Expect to take 500–1,500 photos per day. Bring multiple high-speed, high-capacity cards. I used 128GB cards and filled them faster than I expected—especially shooting RAW.
Label them, store them safely, and never rely on just one.
2. Bean Bag
A bean bag is a safari photographer’s tripod. You’ll rest your long lens on the vehicle’s windowsill or roof rail. It stabilizes your shots and protects your gear.
Tip: Bring an empty one and fill it with rice or beans at your lodge.
3. Camera Strap or Harness
Shooting all day gets tiring. A padded camera strap or cross-body sling saves your neck and gives you quick access to your gear. For heavier lenses, consider a chest harness or vest.
4. Extra Batteries & Chargers
One battery will not last a full day. I carried three, and I charged them every night—even if they weren’t fully drained.
Tip: Camps running on solar power may limit charging hours, so be efficient.
5. Lens Cleaning Tools
Dust is everywhere. Bring a blower, microfiber cloth, and lens wipes to clean your zoom lens regularly. Don’t change lenses in the open if you can avoid it—dust gets inside easily.
Bonus: Second Camera Body
If you’re using a long telephoto lens like a 150–600mm, having a second camera with a 70–200mm or wide angle lens lets you capture both close-ups and wide shots without swapping lenses during a critical moment.
Good example: You’re tracking a leopard in the distance, but suddenly a herd of elephants crosses nearby. With two cameras, you’re ready for both.
Remember: The right camera isn’t just about specs—it’s about usability, flexibility, and preparation. Prioritize features that help you react quickly and protect your gear in real safari conditions.
Safari Photography Tips for Better Results
Bringing the best camera for African safari is one thing—but using it well is another. Safari conditions can be unpredictable: animals move fast, light changes quickly, and you often won’t have much time to fiddle with settings.
The good news? With a little preparation and a few smart habits, you can dramatically improve your shots—even if it’s your first time behind a camera.
Here are my top safari photography tips to help you get great shots, protect your gear, and fully enjoy your safari adventure:
1. Use Faster Shutter Speeds for Action Shots
Fast-moving animals like birds, cheetahs, or zebras require shutter speeds of at least 1/1000s or higher. For birds in flight, go even faster—1/2000s if possible.
Use shutter priority mode if you’re not comfortable shooting full manual.
📝 Pro Tip: If your images are too dark, raise your ISO. Modern cameras handle it well—and it’s better to have a slightly noisy image than a blurry one.
2. Shoot During Early Morning & Late Afternoon
Light is everything. The best photos on safari are taken during early morning and late afternoon, known as the “golden hours.”
The light is softer, the colors are warmer, and the animals are more active. Midday shots often look flat and washed out due to harsh sun.
3. Focus on the Eyes
If the eyes aren’t sharp, the photo loses impact—especially in wildlife photography. Use single-point autofocus and place the focus point on the animal’s eye.
This one small adjustment makes a big difference in emotional connection and professional feel.
4. Use a Low F-Stop to Blur the Background
To isolate your subject and create a creamy, blurred background (aka “bokeh”), use a low f-stop like f/2.8 to f/5.6. This works beautifully for animal portraits.
If you’re using a compact camera or superzoom camera, you might be limited, but try zooming in to the longest focal length to help compress the background.
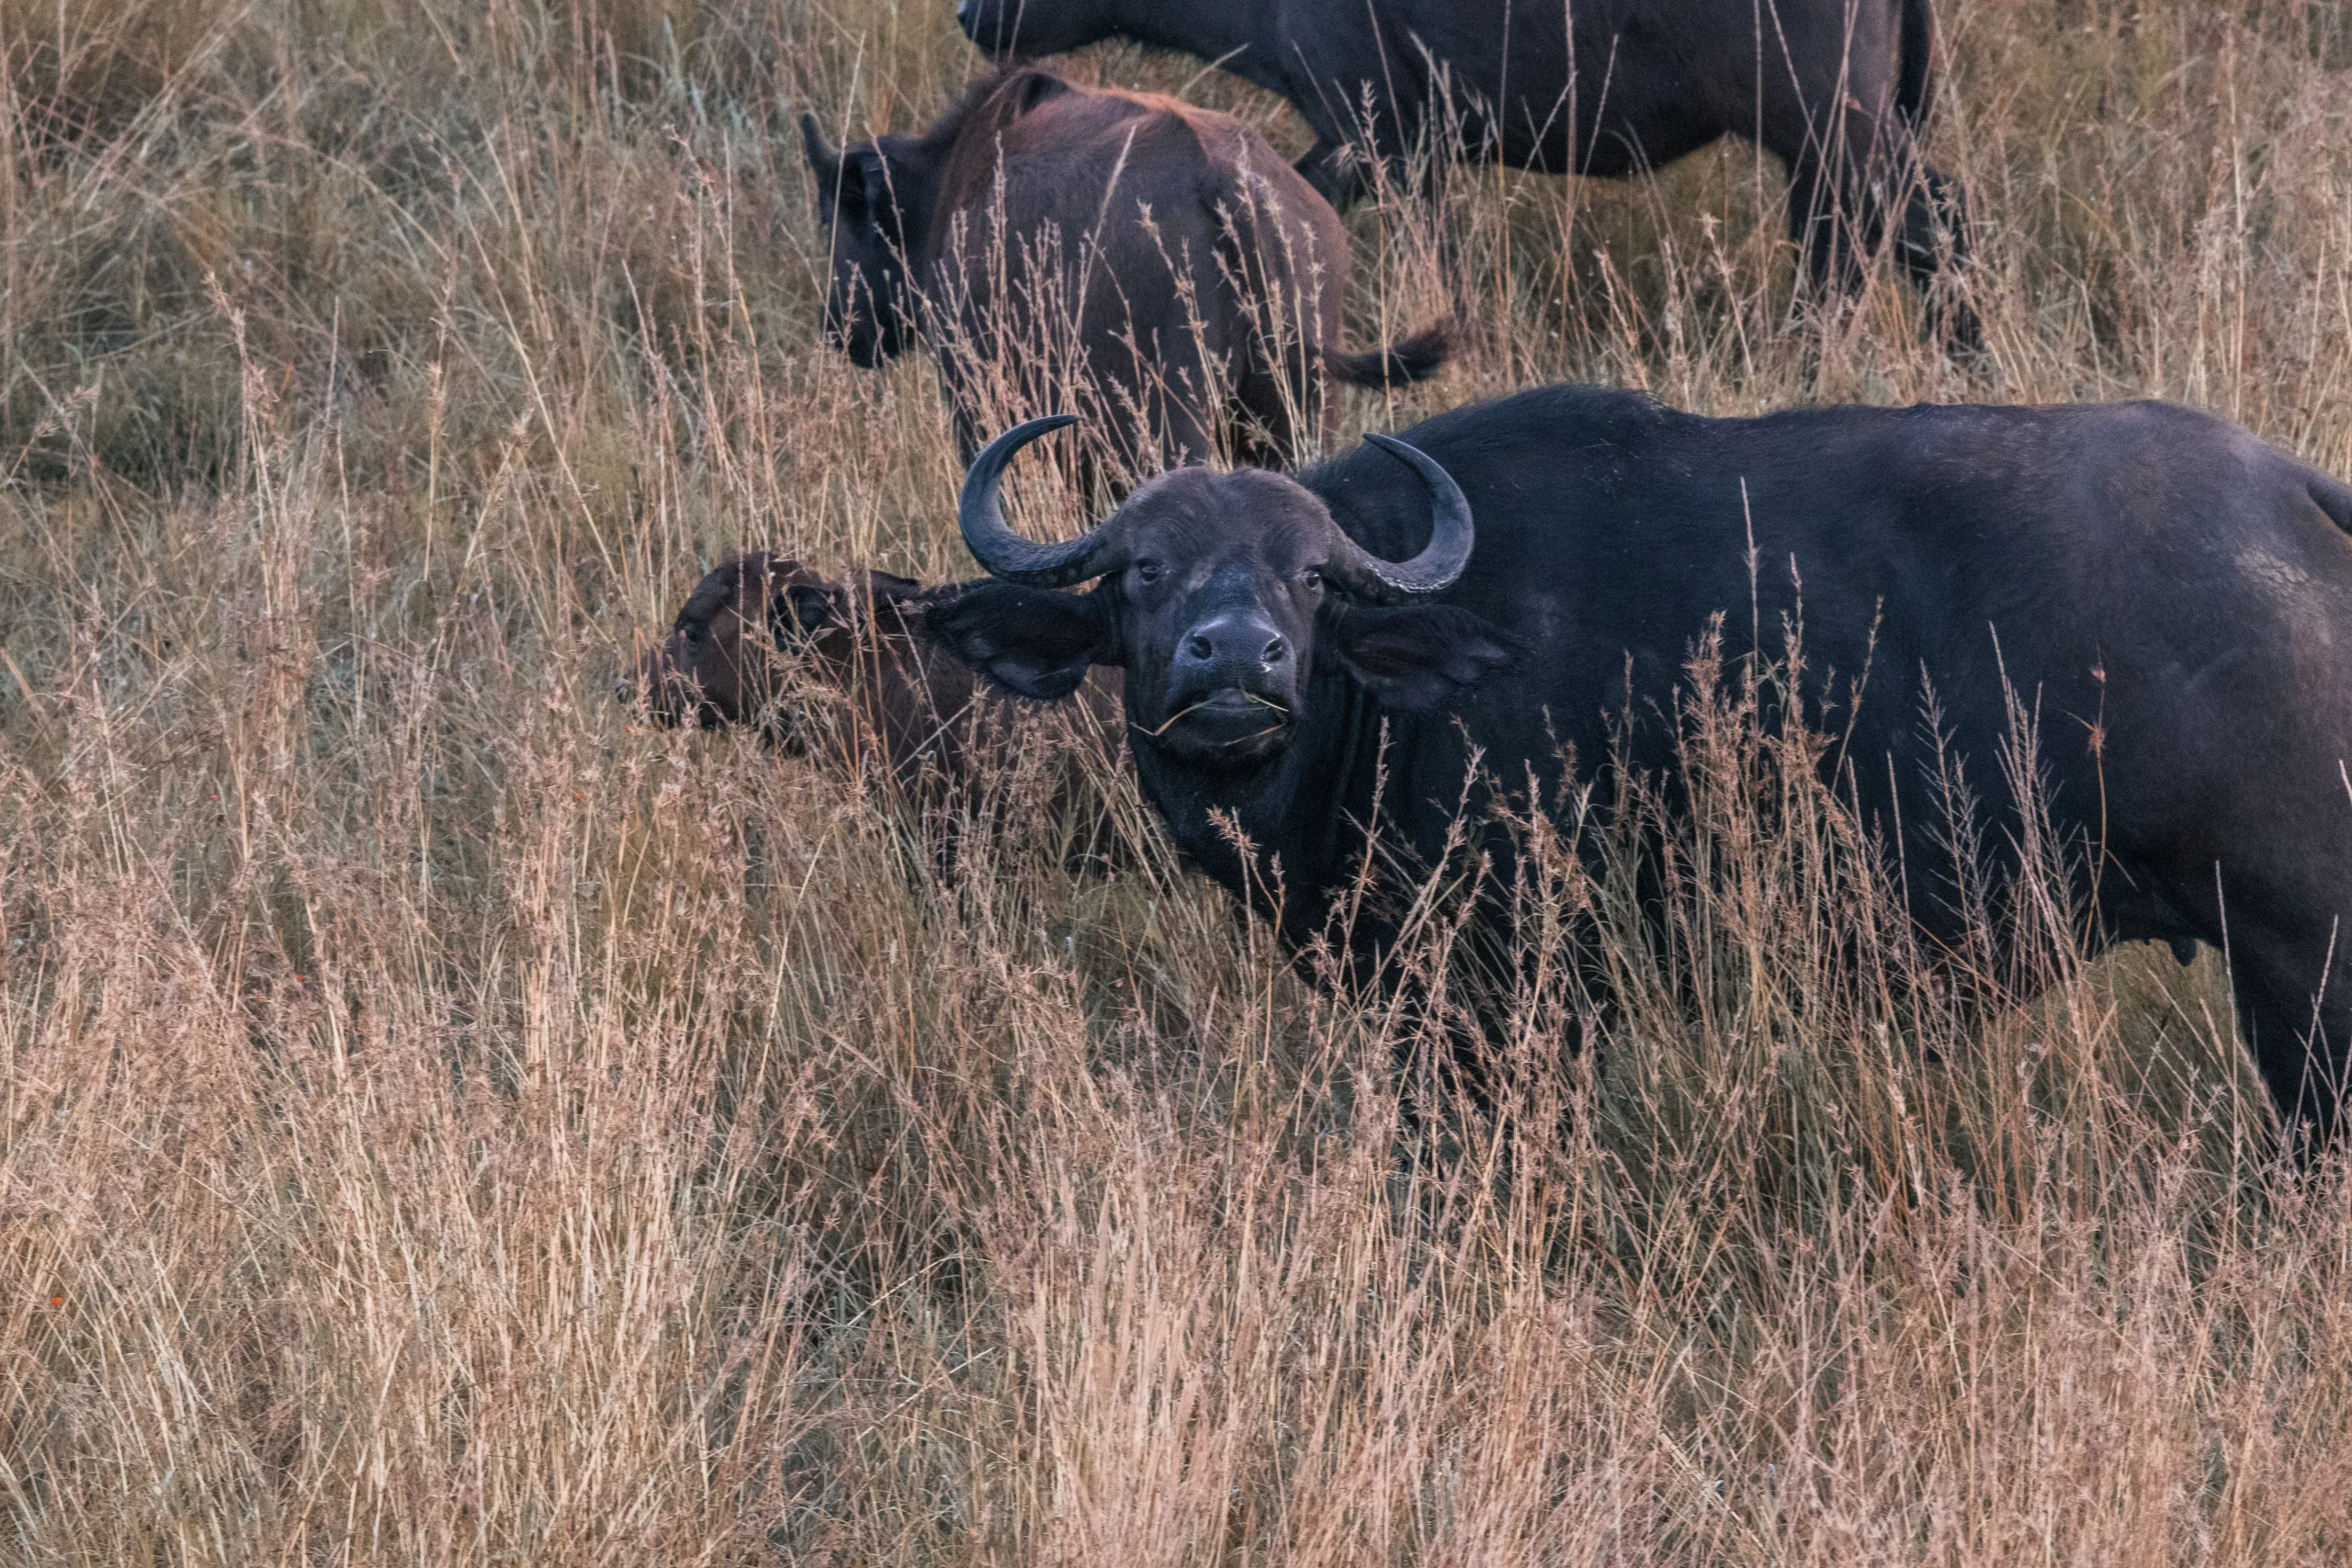
5. Don’t Just Zoom—Shoot the Whole Scene
It’s tempting to always zoom in tight, but remember to capture the natural habitat, wide animal groups, and scenes that tell the story of your safari trip.
This is where a wide-angle lens or 70–200mm lens on a second camera becomes invaluable.
6. Practice Before You Go
Seriously—practice at home. Learn to change settings quickly. Try tracking your dog running across a field. Know how to adjust ISO, aperture, and shutter speed without thinking.
That way, when the leopard crosses your path in Tanzania, you’re ready.